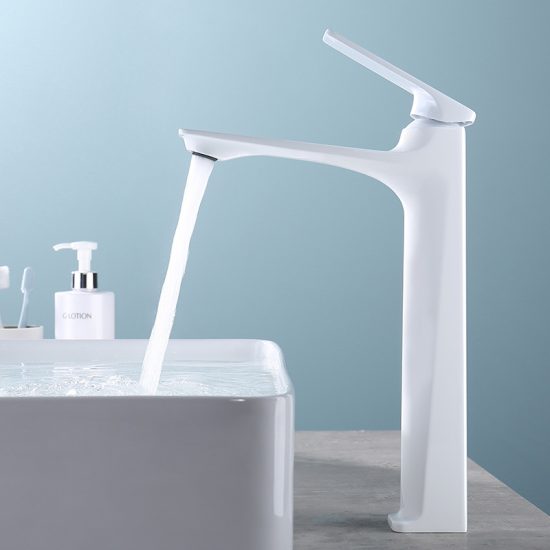
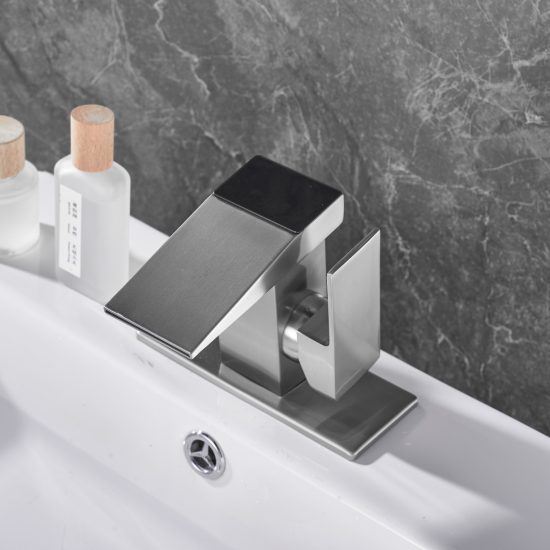
Installing a basin faucet yourself can be a rewarding DIY project. Here are some tips to help you with the installation process:
- Read the Instructions:
- Start by thoroughly reading the manufacturer’s installation instructions provided with the faucet. This will give you a clear understanding of the specific steps and requirements.
- Gather Tools and Materials:
- Ensure you have all the necessary tools and materials before starting the installation. Typical tools include an adjustable wrench, pliers, screwdriver, and plumber’s tape.
- Turn Off Water Supply:
- Shut off the water supply to the basin. You can usually find shut-off valves beneath the sink. If not, turn off the main water supply.
- Prepare the Area:
- Clear the area beneath the sink to provide easy access. Place a bucket or towel beneath the work area to catch any water that may drip during the installation.
- Remove Old Faucet:
- If you’re replacing an old faucet, disconnect and remove it first. Loosen and disconnect the supply lines and unscrew the mounting nuts. Remove the old faucet and clean the area.
- Check Compatibility:
- Ensure that the new faucet is compatible with your sink and existing plumbing. Check the number of mounting holes and spacing.
- Install Gasket and Mounting Hardware:
- Place the rubber gasket or seal provided with the faucet onto the sink. Insert the faucet through the mounting hole(s) and secure it in place using the provided mounting hardware.
- Connect Water Supply Lines:
- Connect the hot and cold water supply lines to the corresponding valves on the faucet. Use plumber’s tape on the threads to prevent leaks.
- Tighten Nuts and Bolts:
- Secure the faucet in place by tightening the mounting nuts or bolts underneath the sink. Use the appropriate tools to ensure a snug fit.
- Check for Leaks:
- Turn on the water supply and check for any leaks. If you notice any leaks, tighten the connections further. Wipe away excess water.
- Adjust Handles and Spout:
- If your faucet has adjustable handles or a swiveling spout, make any necessary adjustments to achieve the desired positioning.
- Seal Gaps:
- Use caulk to seal any gaps between the faucet base and the sink. This helps prevent water from seeping underneath.
- Follow Manufacturer’s Recommendations:
- Adhere to any specific recommendations or guidelines provided by the faucet manufacturer for optimal performance.
Remember, if you encounter any difficulties or if the installation seems beyond your capabilities, it’s advisable to seek professional assistance to ensure a proper and leak-free installation.


