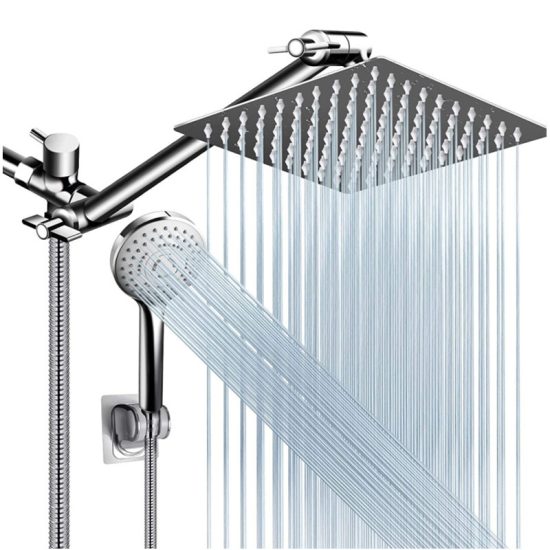
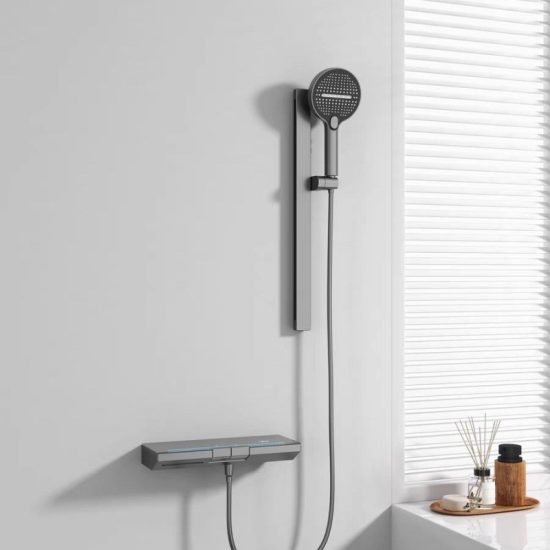
Upgrading your kitchen by installing a new faucet can be a rewarding DIY project. Here are some tips to help you with the process:
- Choose the Right Faucet:
- Select a faucet that suits your kitchen style and meets your functional needs. Consider factors like the number of handles, spout style, and additional features.
- Gather Tools and Materials:
- Before starting, ensure you have all the necessary tools and materials. Typical tools may include an adjustable wrench, plumber’s tape, a basin wrench, and a bucket.
- Turn Off Water Supply:
- Shut off the water supply to the sink. You’ll usually find shut-off valves under the sink. If there are none, you may need to turn off the main water supply.
- Disconnect Old Faucet:
- Disconnect the old faucet. Use the basin wrench to loosen and remove the nuts connecting the faucet to the supply lines. Have a bucket ready to catch any water that may drain from the lines.
- Remove Old Faucet:
- Once disconnected, remove the old faucet. Clean the sink surface and inspect it for any damage. If necessary, use a putty knife to remove old caulk or putty.
- Install New Faucet:
- Follow the manufacturer’s instructions for installing the new faucet. Typically, this involves inserting the faucet through the mounting holes, securing it with nuts or screws, and connecting the supply lines.
- Apply Plumber’s Tape:
- Use plumber’s tape (Teflon tape) on the threads of the supply line connections. This helps create a tight seal and prevents leaks.
- Tighten Connections:
- Use an adjustable wrench to tighten the connections. Be careful not to overtighten, as it may damage the faucet or plumbing connections.
- Connect Water Supply Lines:
- Connect the hot and cold water supply lines to the corresponding valves. Ensure they are securely tightened.
- Check for Leaks:
- Turn on the water supply and check for leaks. If you notice any leaks, tighten the connections as needed. Wipe away excess water with a cloth.
- Test the Faucet:
- Test the faucet by turning it on and off, checking both hot and cold water. Verify that the handles and spout function correctly.
- Seal Around the Faucet:
- Apply a bead of silicone caulk around the base of the faucet to create a watertight seal. Smooth the caulk with a damp cloth or your finger.
- Clean Up:
- Clean up any debris or leftover materials. Dispose of the old faucet properly.
Remember to follow the specific instructions provided by the faucet manufacturer. If you encounter difficulties or are unsure about any step, it’s advisable to consult a professional plumber.


