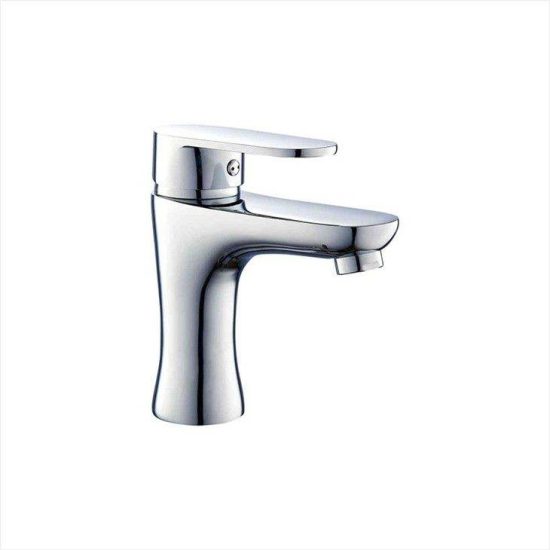
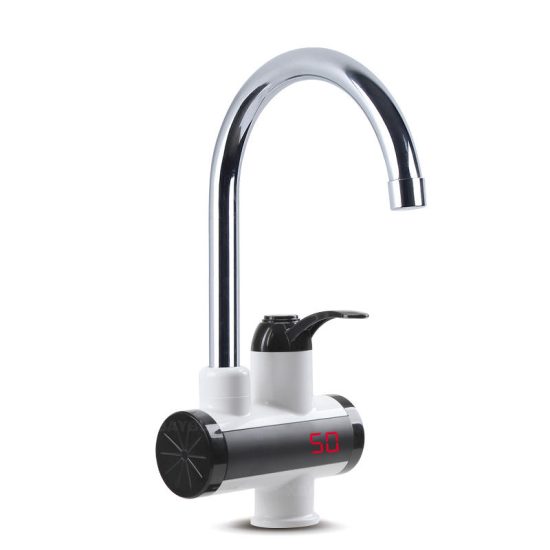
Embarking on a do-it-yourself faucet installation project can be a rewarding experience, saving you money and providing a sense of accomplishment. Follow these step-by-step instructions to install your faucet like a pro:
Materials Needed:
- New faucet
- Adjustable wrench
- Plumber’s tape
- Plunger or bucket
- Towels or rags
- Teflon tape
- Plumber’s putty (if required)
- Basin wrench (if needed)
Step 1: Gather Tools and Materials Ensure you have all the necessary tools and materials before starting the installation. Turn off the water supply to the sink or the entire house if needed.
Step 2: Remove Old Faucet
- Disconnect the water supply lines from the old faucet using an adjustable wrench.
- Loosen and remove the nuts securing the old faucet to the sink.
- Lift the old faucet out and clean the sink surface.
Step 3: Install New Faucet
- Read the manufacturer’s instructions for your new faucet.
- If required, apply plumber’s putty around the base of the faucet.
- Insert the new faucet into the mounting holes, aligning it properly.
- Secure the faucet in place by tightening the nuts underneath. Use a basin wrench if space is tight.
Step 4: Connect Water Supply Lines
- Apply plumber’s tape to the threaded ends of the water supply lines.
- Connect the hot and cold water supply lines to the corresponding valves on the faucet.
- Use an adjustable wrench to tighten the connections, but avoid over-tightening.
Step 5: Check for Leaks
- Turn on the water supply.
- Check for any leaks around the connections.
- Tighten connections if necessary, and use a plunger or bucket to catch any excess water.
Step 6: Test Faucet Operation
- Turn on the faucet and check for proper water flow and temperature control.
- Test any additional features, such as sprayers or pull-out functions.
Step 7: Final Adjustments
- Make any final adjustments to the faucet alignment or tightness.
- Wipe away any excess plumber’s putty or water stains.
Step 8: Enjoy Your Newly Installed Faucet Congratulations! You’ve successfully installed your faucet like a pro. Enjoy the enhanced functionality and aesthetic appeal of your new fixture.
Note: If you encounter challenges or if plumbing tasks are beyond your comfort level, it’s advisable to seek professional assistance.


